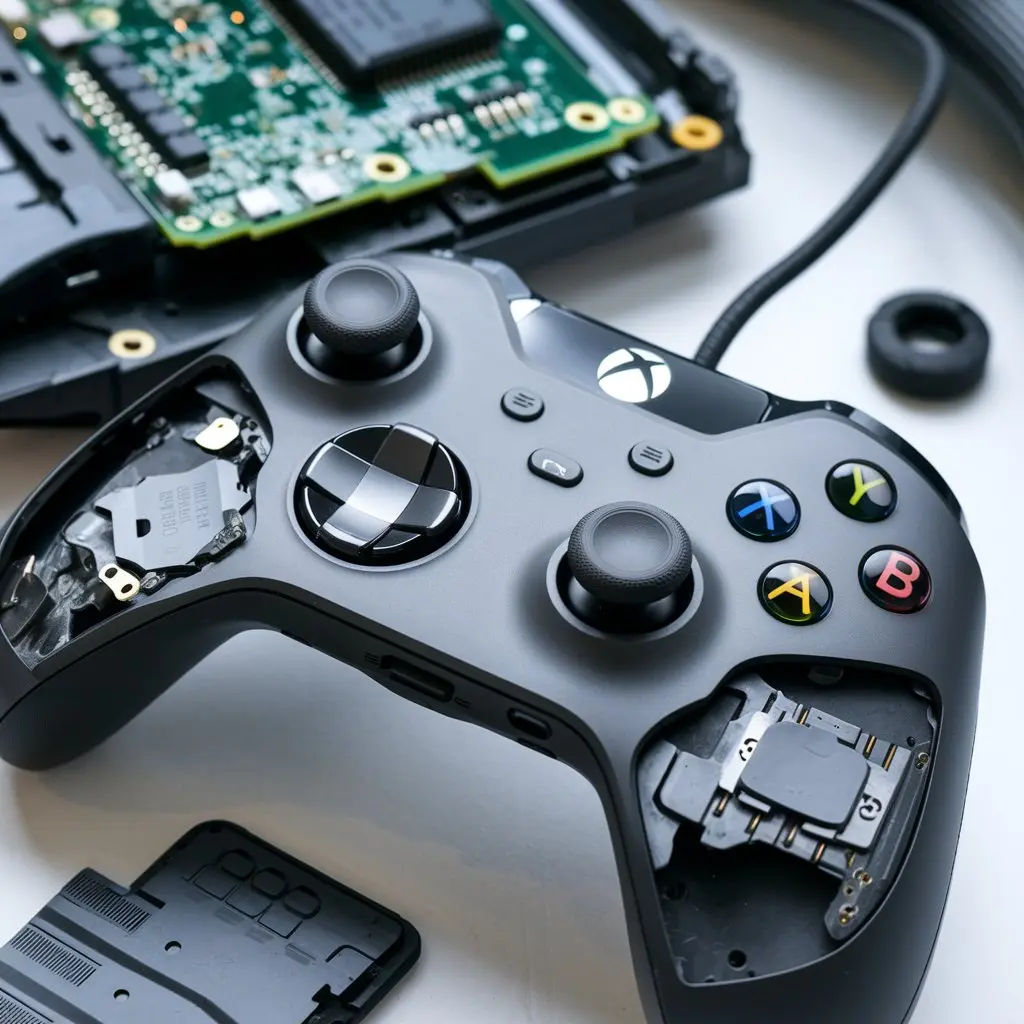
If your Xbox One Elite Controller Series 1 is giving you trouble or you just want to clean it up, taking it apart can be useful. Whether you’re replacing a button, fixing a joystick, or just exploring the hardware, this guide will walk you through the process. With the right tools and steps, you can safely disassemble your controller. Let’s dive into it!
Tools You’ll Need
Before you start, gather the necessary tools. This will help make the process smoother and prevent damage.
- Torx T8 screwdriver: This is essential for opening the screws.
- Plastic pry tool: This will help open the case without scratching it.
- Tweezers: These are handy for handling small parts.
- Plastic spudger: This tool will help in removing delicate components.
- Soft cloth: Use it to clean the internal parts once opened.
Make sure you have a clean workspace. You don’t want to lose any screws or parts.
Step 1: Remove the Back Panels
To start, you need to remove the back panels. Flip your controller over and locate the grips.
- Gently insert the plastic pry tool between the seams of the controller and the grips.
- Slowly pry up the grips by applying even pressure. Don’t rush. The adhesive may resist at first.
- Once loosened, fully remove the back panels and set them aside.
Be careful not to bend the grips too much as they may crack.
Step 2: Unscrew the Controller
After removing the back panels, you’ll find the screws.
- Use your Torx T8 screwdriver to unscrew the five screws on the back of the controller.
- Keep the screws in a safe place. You’ll need them when you reassemble the controller.
The fifth screw is hidden under the label in the battery compartment. You’ll have to poke through the label to access it.
Step 3: Separate the Controller Shell
Once the screws are removed, you can now separate the controller shell.
- Use your plastic pry tool again to gently pry apart the two halves of the controller shell.
- Work slowly around the edges. Applying too much force can break the plastic clips.
Once the shell is loose, carefully pull the front and back halves apart.
Step 4: Remove the Battery Pack
Now that the shell is off, you’ll see the battery pack.
- Use the plastic spudger to gently lift the battery out of its compartment.
- Unplug the battery connector from the main board.
Be gentle while unplugging the battery connector, as the wires are delicate.
Step 5: Detach the Joystick Modules
The next step is to remove the joystick modules.
- Locate the two screws securing each joystick module to the board.
- Unscrew them using your Torx screwdriver.
- Gently lift the joystick modules out of their sockets.
These modules are connected to the board by ribbon cables, so be sure to handle them with care.
Step 6: Remove the Circuit Board
After removing the joystick modules, it’s time to take out the main circuit board.
- Unscrew the remaining screws holding the board in place.
- Carefully lift the board out of the controller.
Make sure to take note of any small connectors or cables still attached. Disconnect them gently to avoid damaging the wires.
Step 7: Clean the Internal Components
Once the circuit board and joysticks are out, it’s a good time to clean the controller.
- Use a soft cloth to gently wipe away any dust or debris inside the controller.
- If necessary, use tweezers to remove any dirt stuck in tight spaces.
Be careful not to bend any delicate components while cleaning.
Step 8: Reassemble the Controller
After everything is clean, it’s time to put your controller back together.
- First, reattach the circuit board by screwing it back into place.
- Reconnect the joystick modules and ensure they’re seated properly.
- Reconnect the battery pack to the board.
- Snap the shell halves back together.
- Secure the screws and replace the back panels.
Make sure everything is properly aligned before tightening the screws.
Troubleshooting Tips
If the controller doesn’t work after reassembly, don’t panic.
- Double-check all connections. Make sure every cable is reconnected properly.
- Ensure the screws are tightly secured.
- Reopen the controller if needed to inspect any loose parts.
These steps should help you get the controller working again.
Conclusion
Taking apart your Xbox One Elite Controller Series 1 might seem daunting at first, but following these simple steps makes it manageable. With the right tools and a careful approach, you can disassemble and reassemble the controller without any issues. Whether you’re repairing a broken component or just cleaning the interior, this guide will help you get the job done.