Setting up your Airvoice Wireless Unlimited Data APN settings on Android is essential for smooth data connectivity. This guide will walk you through the process, ensuring that your device is ready for fast, reliable internet access.
Understanding Airvoice Wireless APN Settings
Airvoice Wireless provides APN settings to connect your Android to their network. Without proper APN configuration, your phone won’t access mobile data or send MMS. The correct settings are crucial for using the unlimited data plan efficiently.
What Are APN Settings?
APN stands for Access Point Name. It connects your phone to the internet through the carrier’s network. Different carriers require different APN settings to work correctly on Android devices. Setting it up ensures you can access mobile data and multimedia services.
Why Setting APN Settings Matters
Setting up APN settings allows your phone to communicate with the carrier’s network. Without proper configuration, your internet won’t work properly. You might also miss out on features like MMS or high-speed data on your unlimited plan.
Required APN Information for Airvoice Wireless
Before you start setting up, ensure you have the correct information. These settings include the APN name, MMSC, and authentication type. The right APN values will unlock full data access for Airvoice Wireless customers on Android.
Step-by-Step Guide to Set Up APN Settings
Setting up Airvoice Wireless APN settings is a quick and easy process. Follow these steps carefully to ensure smooth configuration on your Android device. Each step will guide you through finding and entering the right information in your phone’s settings.
Step 1: Open Your Phone Settings
First, access the “Settings” on your Android phone. Scroll through the menu to locate the “Connections” or “Wireless & Networks” section. In this section, you’ll manage your phone’s mobile network settings.
Step 2: Find the Mobile Networks Section
Once in the “Connections” menu, look for the “Mobile Networks” option. Tap on it to proceed to the section where you can configure your phone’s mobile data. This is where you will enter the APN settings for Airvoice Wireless.
Step 3: Access the Access Point Names (APN) Menu
Scroll through the Mobile Networks menu and tap on “Access Point Names.” This option manages the APN settings for your phone. Here, you will see a list of existing APN configurations or a blank page if none are set.
Step 4: Add a New APN
At the top right of the screen, tap the “+” or “Add” button to create a new APN. This will open a blank form where you will enter the Airvoice Wireless APN details. Entering this information accurately is essential for enabling mobile data.
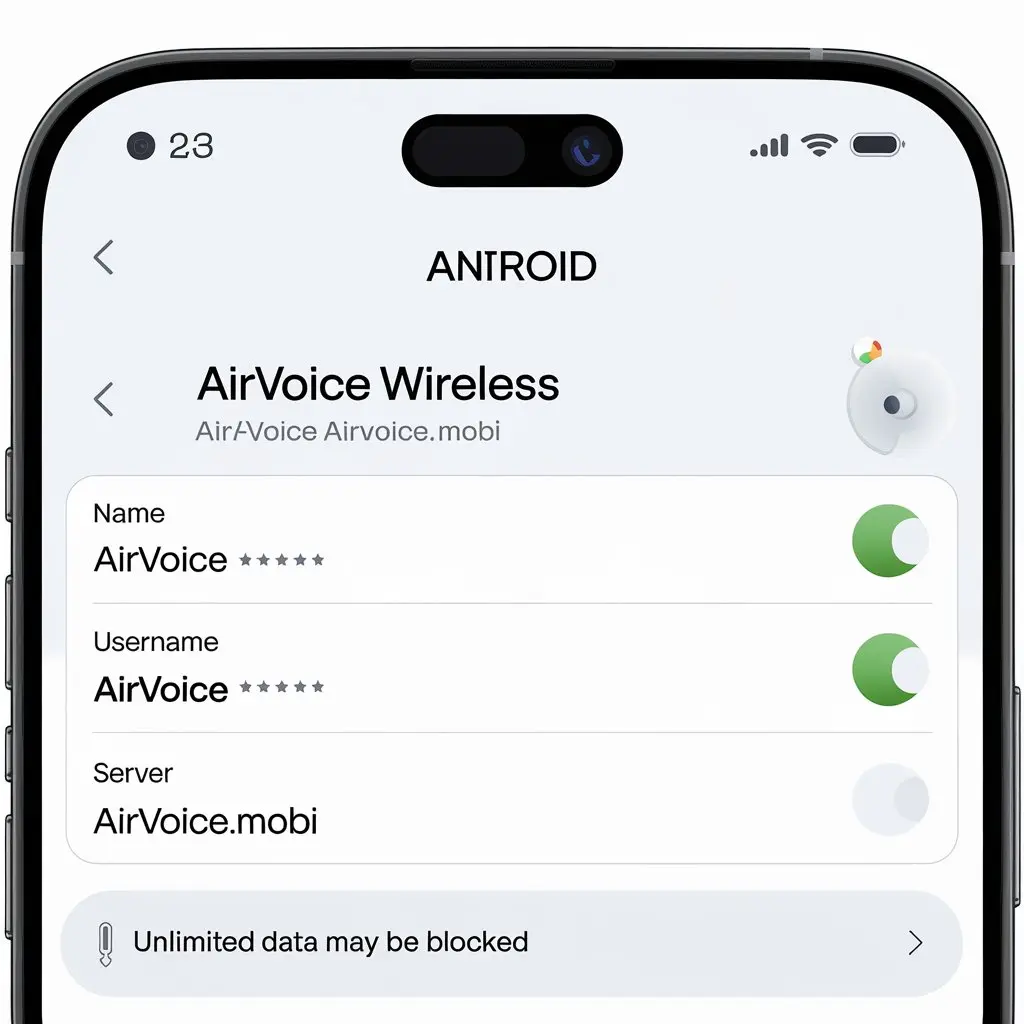
Step 5: Input the Correct APN Information
Now, enter the following APN settings exactly as shown:
- Name: Airvoice
- APN: att.mvno
- MMSC: http://mmsc.cingular.com
- MMS Proxy: proxy.mvno.airvoicewireless.com
- MMS Port: 80
- APN Type: default, mms, supl
- Authentication Type: None
Make sure everything matches to avoid connection issues. Correct settings are key to a stable network connection.
Step 6: Save Your APN Settings
Once you’ve entered all the required fields, tap “Save.” You will now see the new APN listed under your Access Point Names menu. Selecting this APN ensures that your phone uses the Airvoice Wireless network.
Step 7: Select the New APN
After saving the settings, return to the Access Point Names list. Tap on the new APN labeled “Airvoice” to activate it. Your phone will now use these settings for mobile data, which is essential for your unlimited data plan.
Step 8: Restart Your Phone
To complete the process, restart your Android phone. This step ensures that the new APN settings are applied correctly. Once your phone reboots, it should automatically connect to the Airvoice Wireless network.
Troubleshooting Common Issues
Sometimes, even after setting up the APN correctly, problems may occur. You might encounter issues like no internet or MMS not working. Follow the troubleshooting steps below to resolve these problems efficiently.
Internet Not Working
If your mobile data isn’t working, check the APN settings again. Ensure all the values are entered correctly. Also, make sure that the APN is selected as the default for your phone. A typo in the settings can disrupt the connection.
MMS Not Sending or Receiving
MMS relies on correct MMSC and proxy settings. Double-check the MMSC URL and MMS proxy settings. Both should match the exact values provided by Airvoice Wireless. Proper settings are vital for multimedia messages to work.
Restart and Recheck APN
If problems persist, restart your phone again. Sometimes, a second restart is needed for the new APN settings to take full effect. Checking the APN settings after rebooting ensures they remain active.
Ensure Mobile Data Is Enabled
In some cases, mobile data may be turned off. Go to your phone’s settings and make sure that mobile data is enabled. Without this, the APN won’t work even if it’s set up correctly.
Benefits of Correct APN Configuration
By setting up the correct APN settings, you unlock the full potential of your Airvoice Wireless unlimited data plan. Fast internet, uninterrupted streaming, and smooth MMS delivery are some of the many benefits. Correct APN configuration is vital for a seamless experience.
Enhanced Internet Speed
With the right APN settings, you’ll enjoy faster and more stable internet speeds. This is especially important if you use your phone for streaming or heavy data usage. A properly set APN provides optimal network performance.
MMS and Data Functionality
A correctly configured APN also ensures MMS and mobile data work without interruption. This is crucial for staying connected, especially if you rely on your phone for messaging and data-heavy apps. Proper settings ensure no gaps in service.
Switching Between APNs
You may have multiple APN settings on your phone. Switching between them is easy. Just go back to the APN menu and select the one you need. This is useful when traveling or changing carriers.
Resetting APN to Default
If you ever need to reset the APN settings, go back to the APN menu. Tap the “Reset to Default” option to erase all changes. This is a quick way to troubleshoot problems caused by incorrect APN settings.
Conclusion
Setting up the Airvoice Wireless unlimited data APN settings on Android is a simple but essential task. By following these steps, you ensure that your phone connects to the network smoothly. Proper APN settings give you access to fast mobile data, MMS, and other services offered by Airvoice Wireless. Always double-check your entries, restart your phone, and enjoy seamless connectivity with your unlimited data plan.